Creating a Cube
Now on the Model page, we can see all of the dimensions created so far.
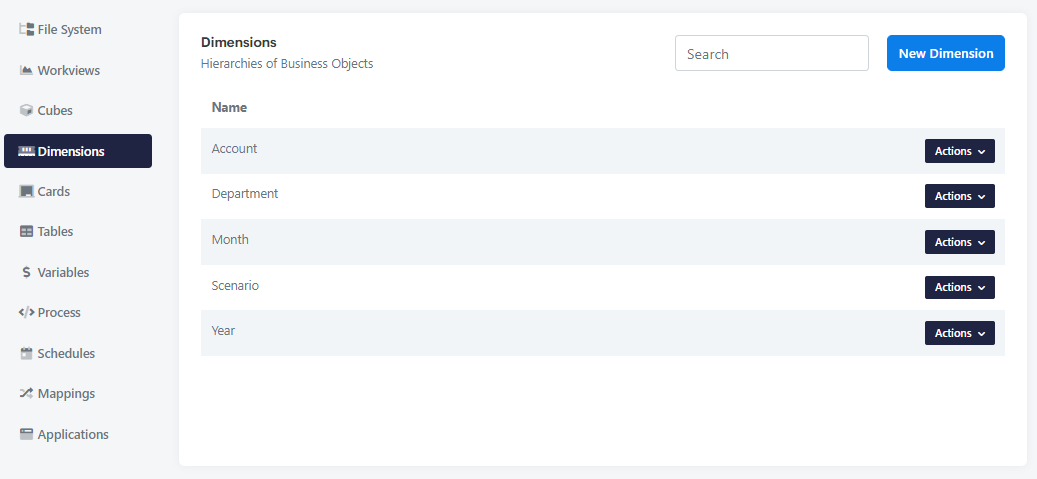
We will proceed to the creation of a cube. In the top right of Cubes tab, click on New Cube.
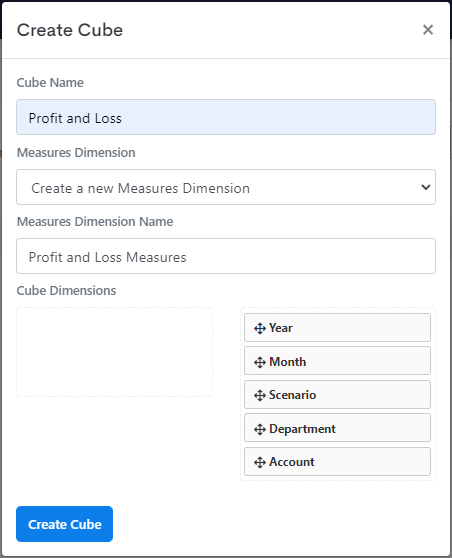
When we create the cube, we will also be creating the final dimension, the Profit and Loss Measures dimension using the Create a new Measures Dimension option. This will create and add a new measures dimension to our cube
Name the cube Proft and Loss and drag the dimensions we are going to use over to the right side, shown in a the following image. Once it's done, we will hit the Create button.
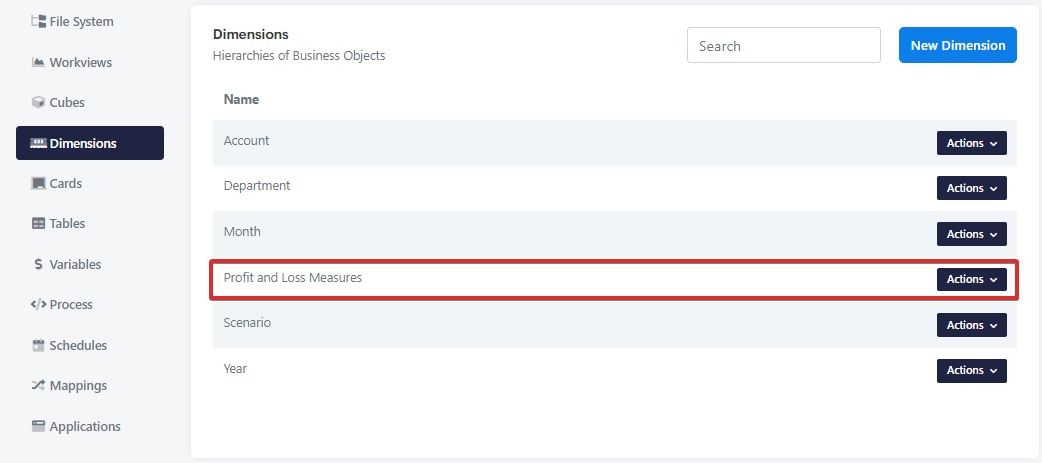
In our model page, we can see that the cube has been created. We will now modify the Measures dimension by Profit and Loss Measures dimension.
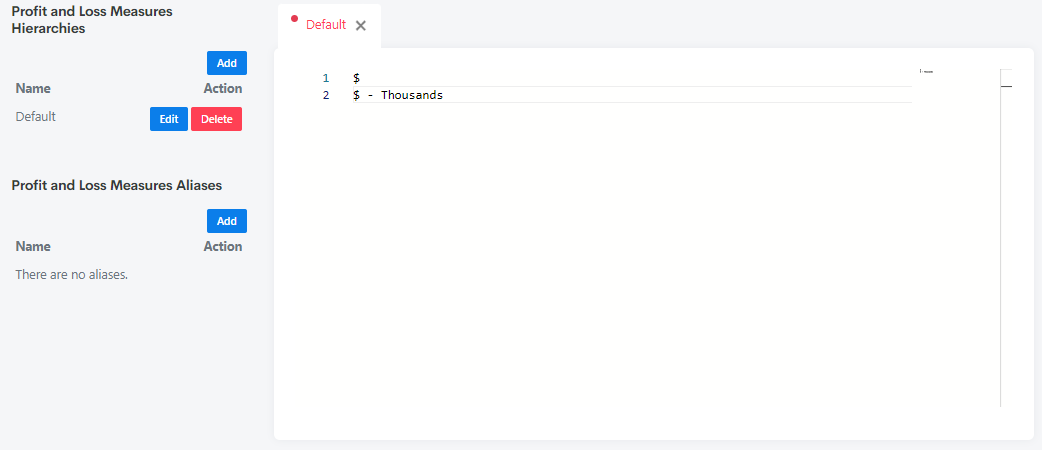
Add the following values to hierarchy:
js
- $
- $ - Thousands
$ will hold the financial amounts and $ - Thousands will calculate the financial amounts in thousands. Once we are done modifying, we will hit the Save Changes button.
Our cube is all ready to go. Let's take a look at the cube by clicking the Open button adjacent to the cube from our model page. Since we haven't uploaded any data the cube appears empty.
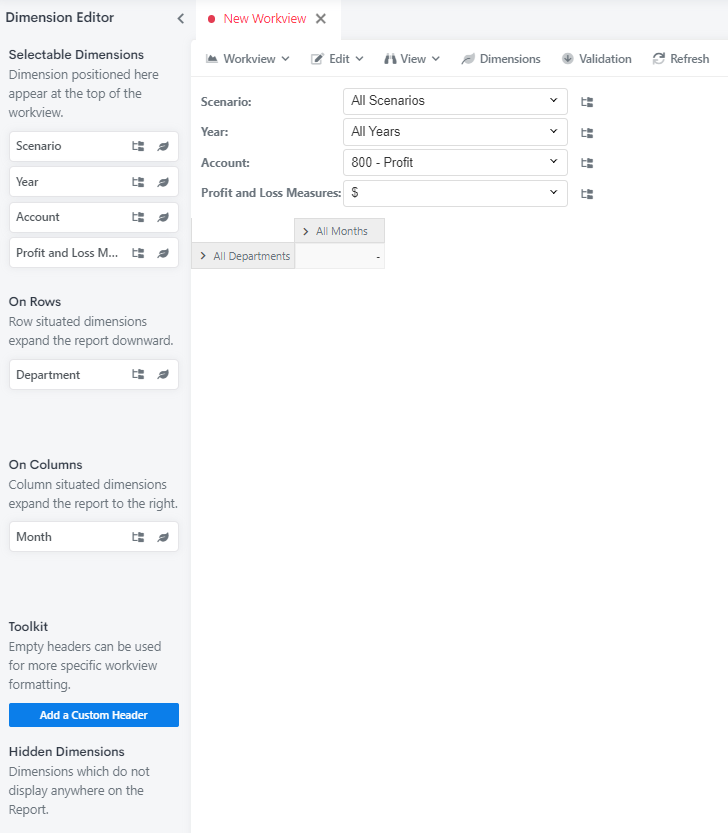
When opening a cube directly, MODLR automatically decides where the dimensions will be placed, but you can change these using the left-hand Dimension management panel. We can drag and drop the dimensions to rearrange them.
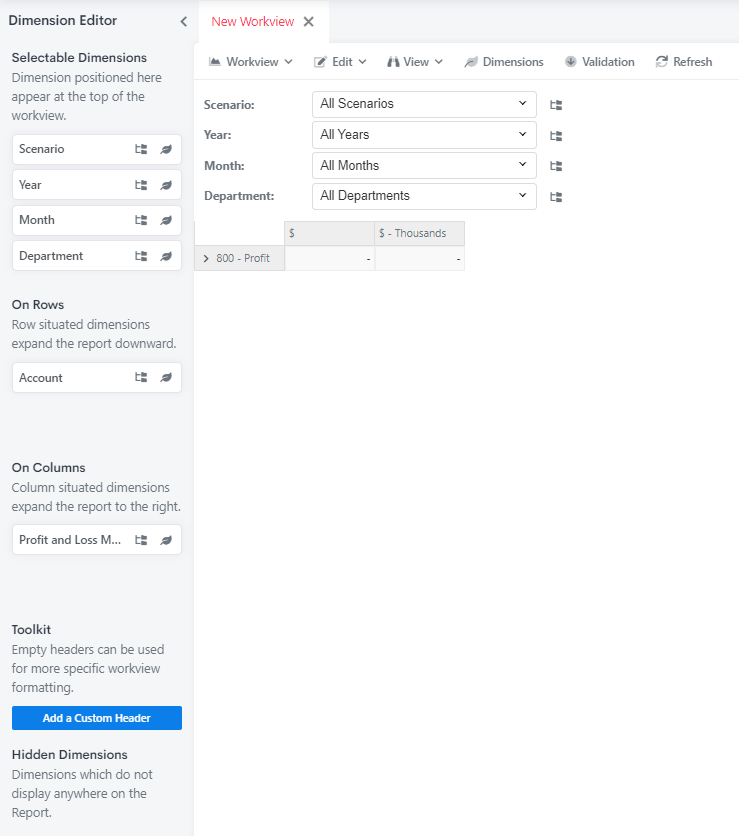
We will make a view showing financials for each department by month for FY17. In preparation for this, we will rearrange the dimensions on rows and columns.
The Department dimension will be put on rows and the Month dimension will be on columns.