Creating the Travel Planning Workview
Now that we have our cube and dimensions ready, we will create a Workview (report).
Within your chosen model, create a new workview by going to Workview → New Workview.
Create a new workview on the Travel cube from the dropdown.
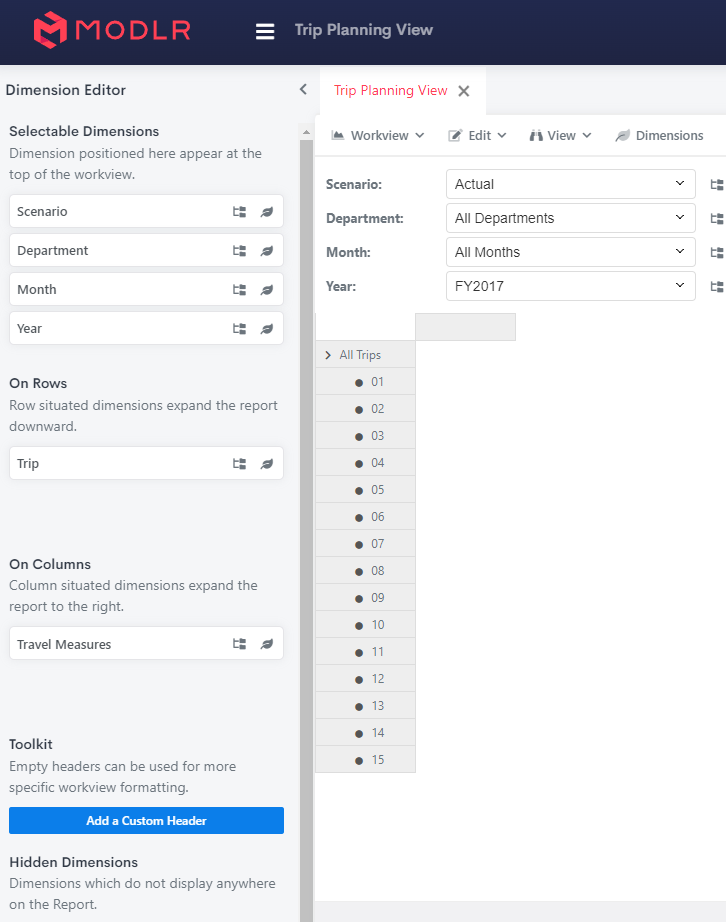
Click into the new Trip Planning View workview. We can now see a new workview based on the Travel cube. The workview includes the dimensions we created earlier.
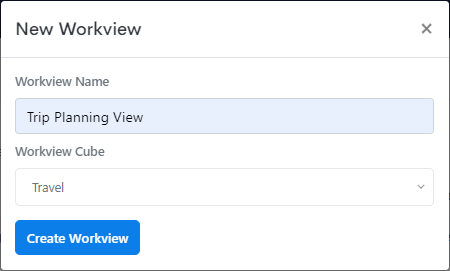
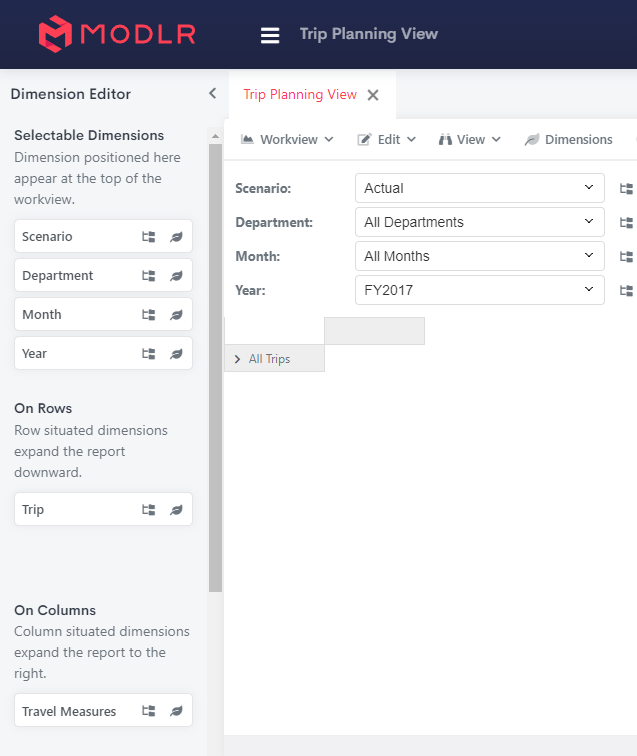
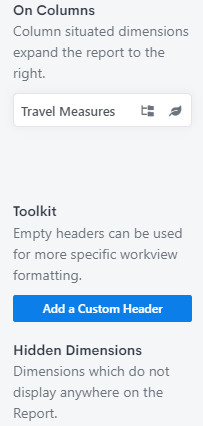
Rearrange the dimensions so that the Trip dimension is on row and Travel Measures dimension is on columns. To rearrange the dimensions, simply drag and drop them to alter their positions.
NOTE: If certain parts of your workview become read-only, check any dimensions under Hidden Dimensions and ensure that the hidden dimensions’ first element is not a parent. Values cannot be entered into the cube when the dimension element is at a parent level.
Double Click on the left-most heading (Grey Box) in the central grid. This grid cell represents a set from the Trip dimension since this dimension is On Rows.
You will be presented with the Set Editor and the Default hierarchy from the Trip Dimension.
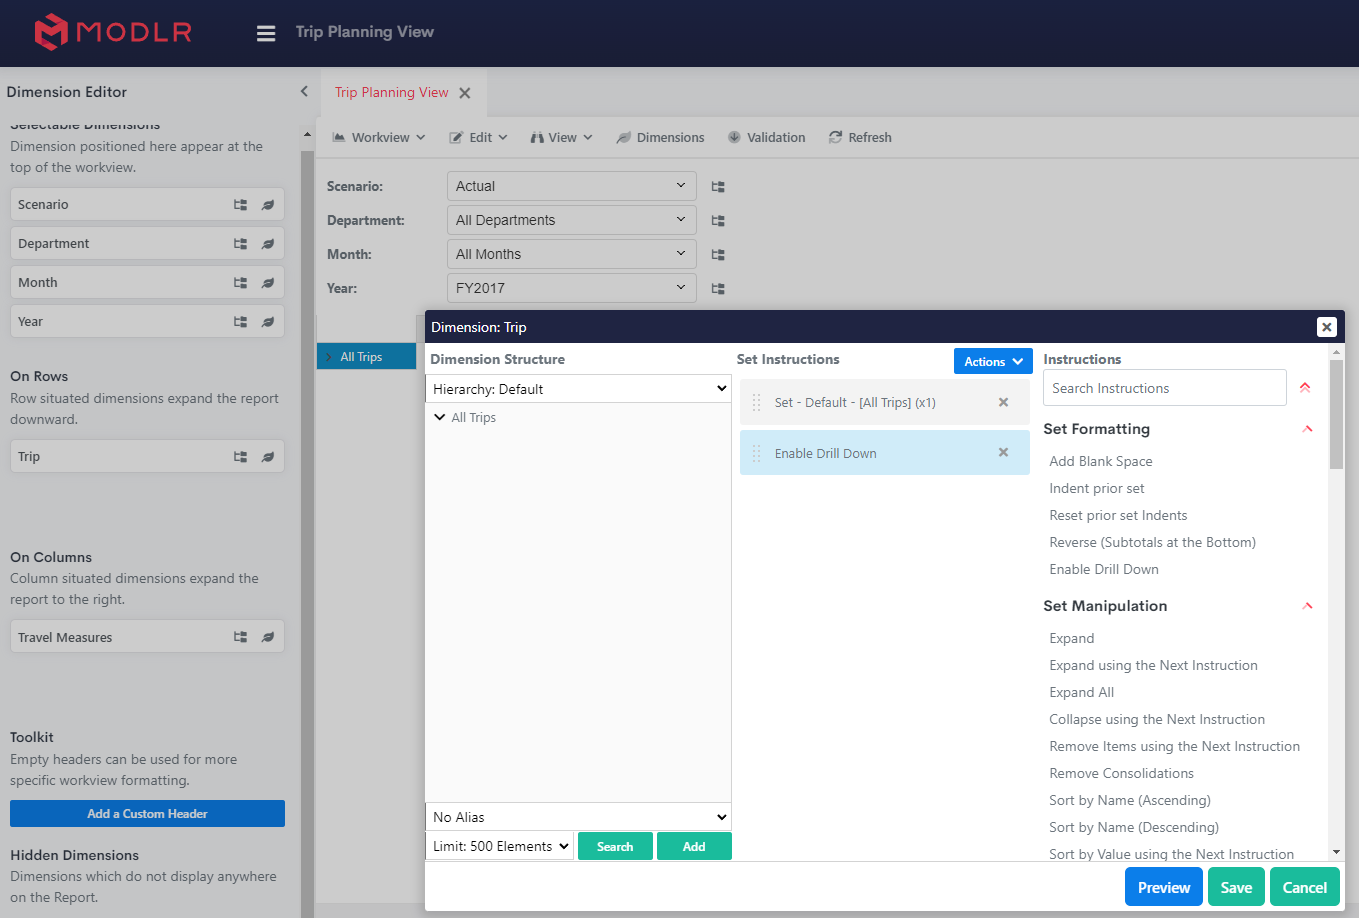
First, we will remove the existing instruction Set - [All Trips] (x1) by clicking on the x button next to it.
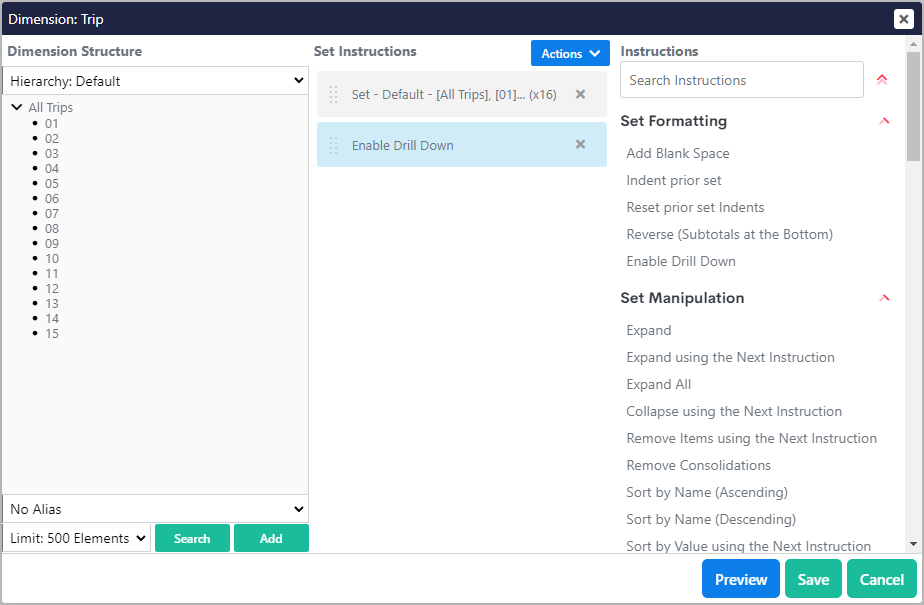
Now, Click on the expand icon next to the All Trips element. This will show the individual trip numbers 01-15.
Drag to select all the items including All Trips and click on the Add button under the Dimension Structure column. Rearrange the set instructions as shown.
Click the Save button to select all visible elements in the window.
The workview will update to display the selected elements from the Trip dimension On Rows.