Adding Data Validation
Within the Trip Planning View workview, we can now make drop lists which restrict what options users have when editing Text fields. First, we will make the Type field provide the user with only International and Domestic options. Then we will make the Destination field restrict input based on the selected Type.
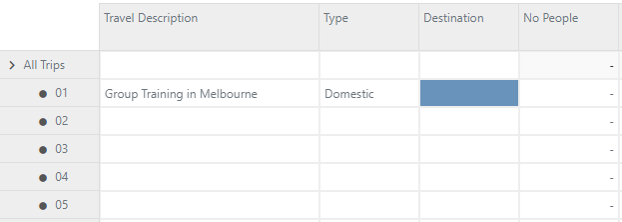
Select a white cell under the Type measure.
Click on the Data Validation toolbar icon.
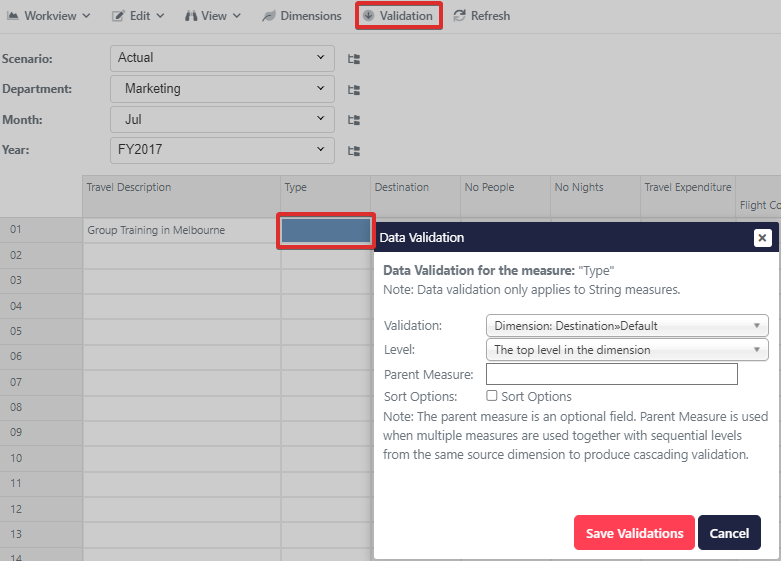
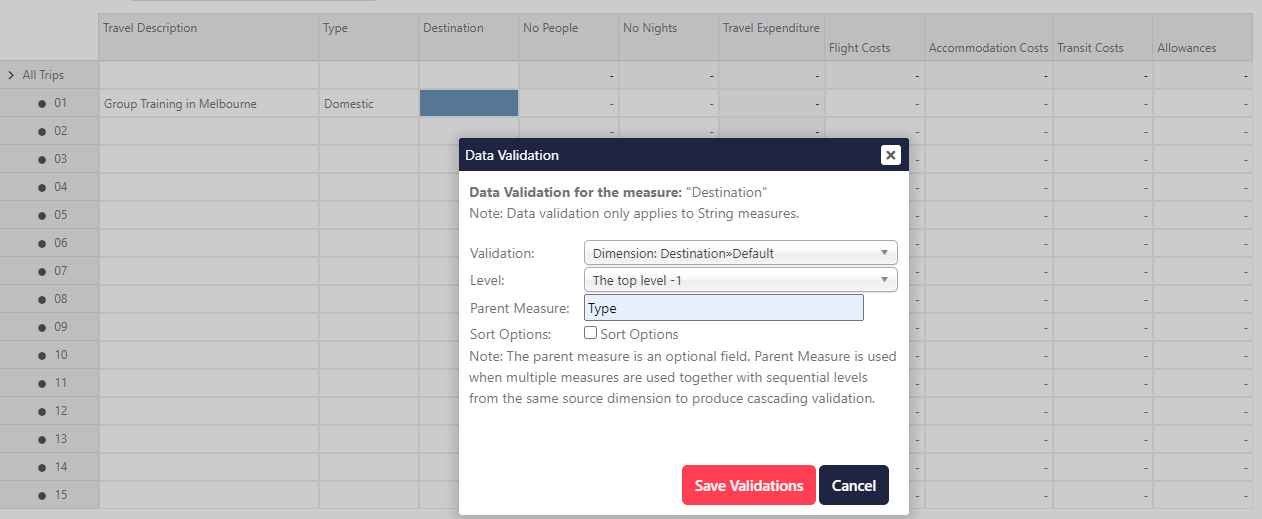
The Data Validation window will show for the Measure Type. Note: This represents the entire column, not the single cell.
Within the validation field select the Destination dimension and Default hierarchy as the basis for Validation. Leave the other settings on their default values.
Click Save Validation.
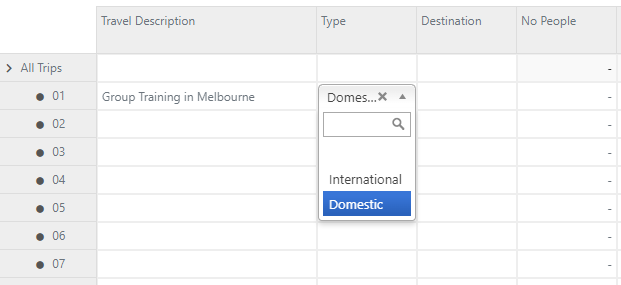
Test the Data Validation by Double Clicking on a white cell under Type
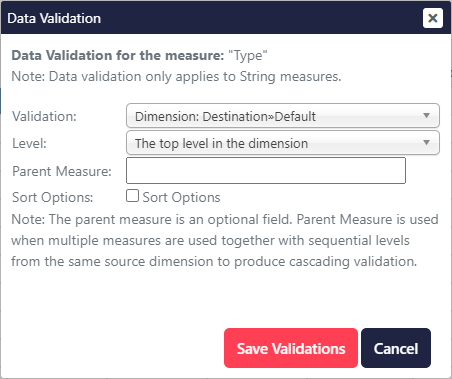
Select a white cell under the Destination measure. Click on the Data Validation toolbar icon
Since we want to restrict Destinations based on the value in the Type column. Set the Level field to Top Level -1 (which means one level below the topmost elements). In the Parent Measure field, set the value to Type (since this is the name of the Measure we are filtering on). Click Save Validation.
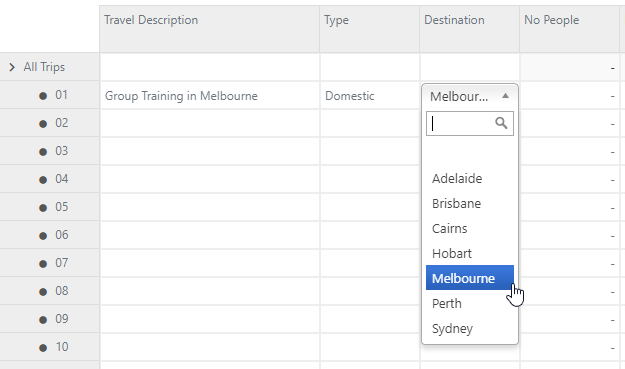
Test the Data Validation by Double Clicking on a white cell under Destination where the Type column is not empty.
Note: if the corresponding Type cell is empty then no filtering will be done. The Destination list will show all destinations.
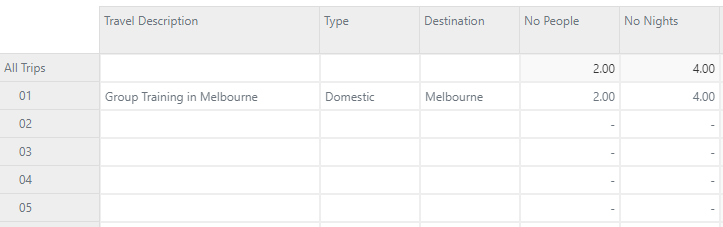
Enter some numbers into the No People and No Nights measures. We will use these to test the calculations we are about to add.
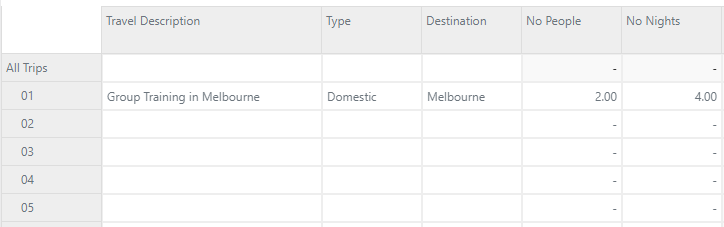
Pressing the left and right arrow while entering values will start editing the corresponding cell however the data is not saved to the MODLR Cube until you conclude editing a field with the Enter key.